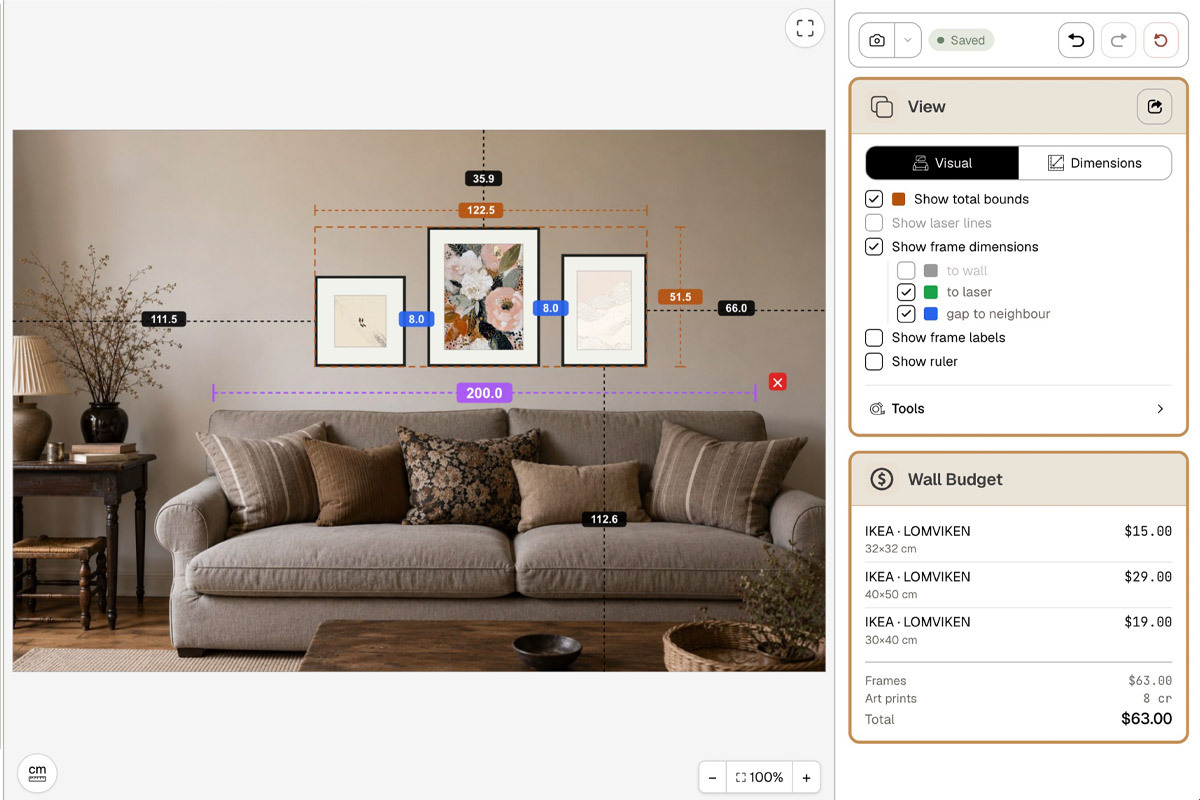
How to Plan Wall Art for a Small Apartment
The hard part of hanging art in a small apartment usually isn’t “which style” — it’s what comes right after you’ve picked a piece you love: you’re standing close to the wall, so what size works; the ceiling is low, so how do you hang without making it feel lower; and the living room doubles as dining and work space, so one piece gets seen from several spots — which one do you plan for?
None of that should decide what you like. Art is there so you get to see work you love; the limits of a small space only help you decide how big, how to lay it out, and which viewing spot to plan around.
The short answer: pick art you genuinely love first, then adjust for three constraints. Up close, size down a little and favour pieces that reward a closer look; with a low ceiling, use a tall piece or a vertical stack to push the eye upward; when one room has many uses, decide which of the sofa, dining table or desk is the main viewing spot, then check from the other two.
The order to remember
- Taste first. Choose work you’ll be happy to see every day; don’t let the floor plan pick your subject and style.
- Then the real viewing distance. Do you usually look from the sofa, the dining table or the desk? The closer you are to the wall, the more you need to hold the size down.
- Then adjust size and grouping. Make the pieces you love fit a close-up view, a low ceiling and a multi-use room.
A small space can start with a single piece or a group. Before you settle the count, put the outer edge of the whole piece or group on the real wall and check it.
If you haven’t settled your candidate walls yet, start with the general wall-picking method in the guide on which walls to decorate and which to leave empty. This one only handles the three problems most common in a small apartment: a short viewing distance, a low ceiling, and one room used many ways.
Problem 1: You’re close to the art — what size?
In a small space the sofa, dining table, desk or a walkway can sit very close to the wall, with no room to step back and take in the whole picture. Here the point isn’t a standard hanging height — it’s controlling the size.
Check it in this order:
- Stand where you’ll actually be. Look from where you normally sit on the sofa, at the dining table or the desk, or as you pass in the walkway — not from outside the room.
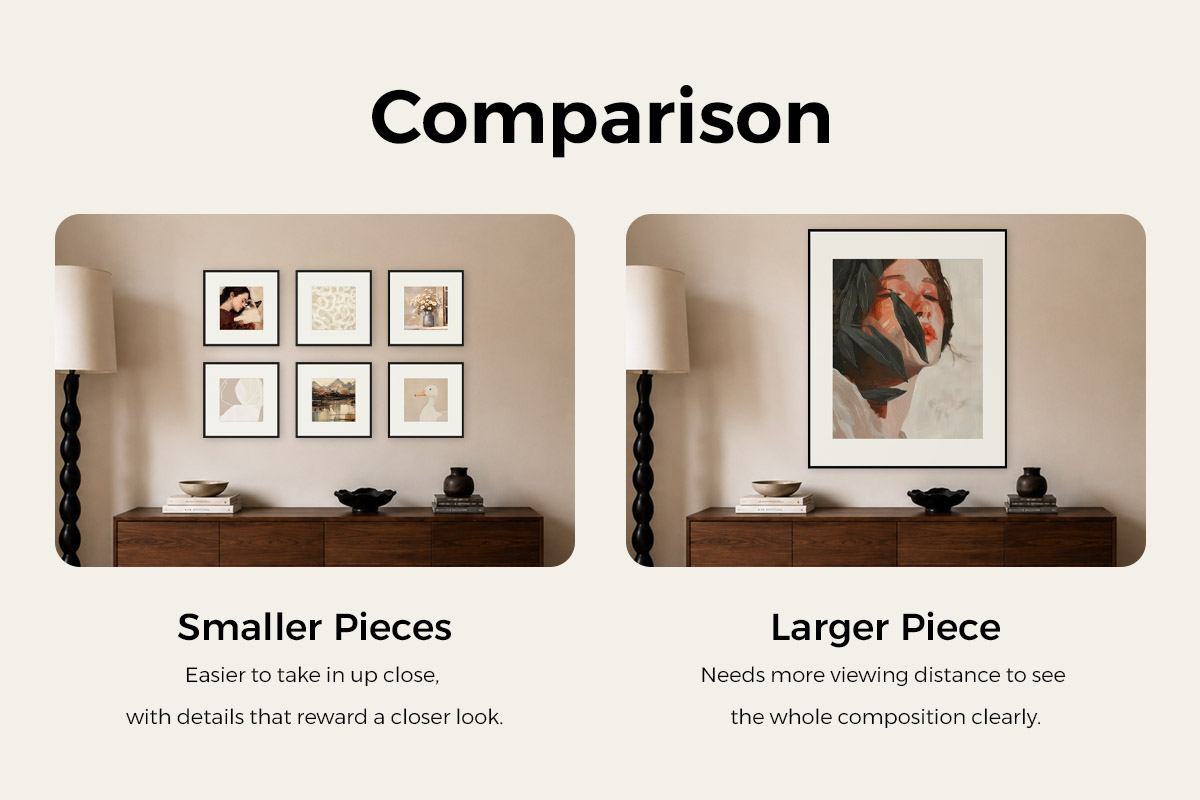
- Shrink the piece until you take it in at a glance. If you have to obviously turn your head, move your eyes across it, or step back to read the whole picture, it’s usually too big. For a group, judge the total width and height of the whole set, not one small frame.
- Favour content that rewards a close look. Small photographs, prints, line drawings, and pieces rich in texture and detail still have something to read up close; big compositions that rely on distance for their impact often don’t hold up at short range.
Problem 2: The ceiling is low — how do you hang so it feels taller?
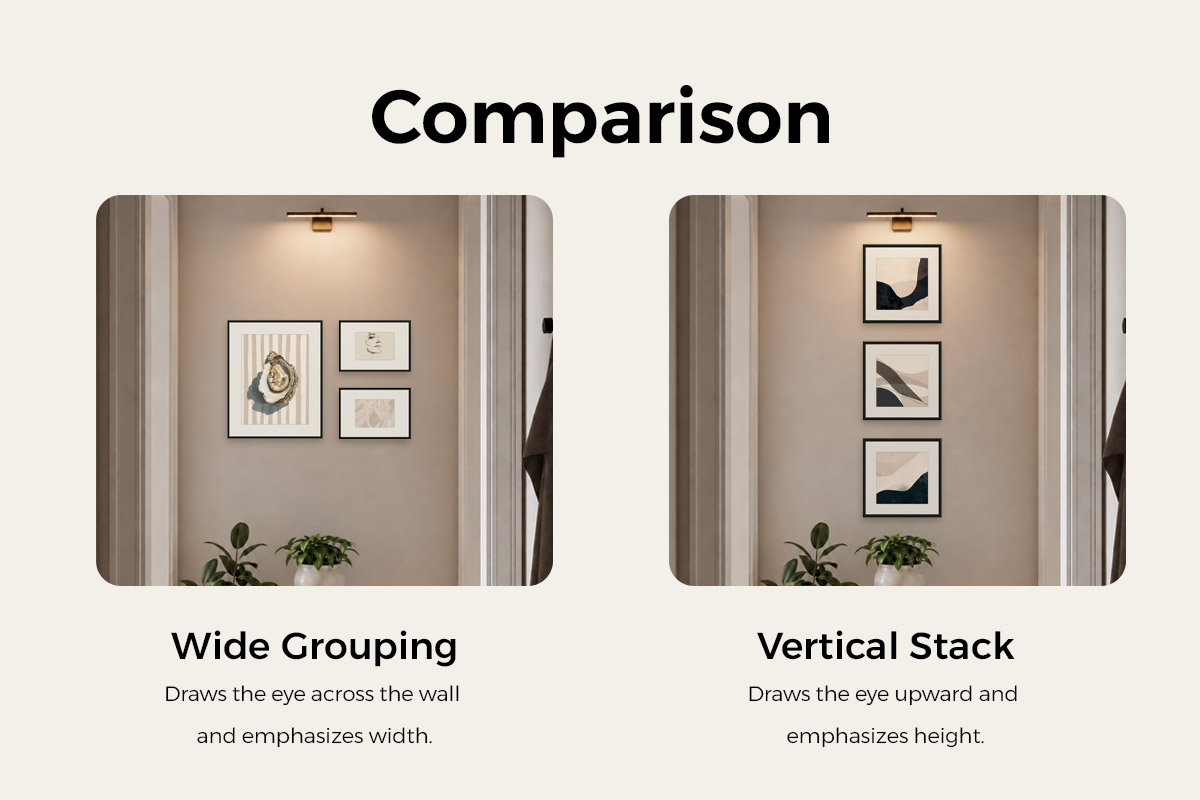
If the goal is to make the wall feel taller, favour a tall piece, a stacked top-to-bottom group, or a photo arrangement that’s overall taller than it is wide. They can’t change the real ceiling height, but they let the composition reach more upward.
Three things matter in how you hang it:
- Keep the overall outline vertical. The same few pieces stacked top-to-bottom usually stress height more than the same pieces spread sideways.
- Still set the visual middle by the normal viewing position. Don’t shove the whole group up near the ceiling to “look taller” — hung too high, the art comes loose from the furniture.
- Leave a strip of wall above the frames. Reaching upward doesn’t mean touching the ceiling; a little room left above lets the wall breathe.
If you simply like a wide piece, hang it — it just stresses the wall’s width rather than its height. What you’re adjusting here is how you hang, not what you’re allowed to like.
Problem 3: One room, many uses — which spot do you hang for?
A small apartment’s shared space often does dining, work and rest at once, and the same piece can be seen from the dining table, the desk and the sofa. Settle on one main viewing spot first: where do you linger most, and most want to enjoy this piece? Make that spot work, then check the other two.
Say a wall is visible from the dining table, the desk and the sofa at once: if you mostly enjoy it from the sofa, set the size by the sofa-to-wall distance first, then step to the dining table and desk to check it isn’t blocked by a pendant light, a monitor or other furniture; if you mostly see it from the dining table, make it read complete and natural for someone seated there first, then check from the sofa and desk. The three spots don’t have to be equally perfect — the priority just has to be clear.
Finish with a use check: will a pulled-out dining chair hit the frame, will a work lamp or a window reflect on the glass, will a monitor, a pendant light or a cabinet door block the piece? For the full treatment of an open living-dining space where several walls are visible at once, see the guide on open-plan layouts.
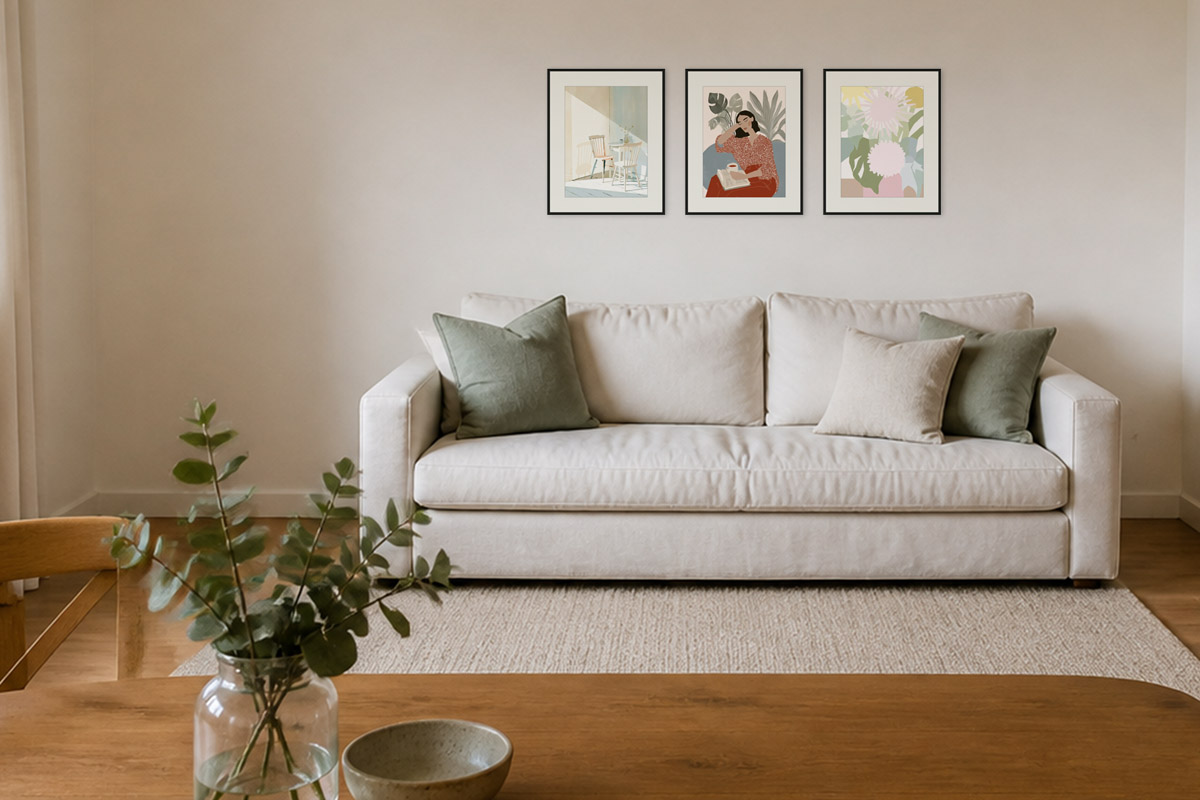
A small room doesn’t have to mean small art — but a short viewing distance limits size
“Small apartment” on its own doesn’t set the size of the art; what actually drives it is the distance between the piece and the viewer. If the art hangs across from the sofa with enough distance to see the whole picture, a large piece can work; if the dining table, desk or a walkway forces you up against the wall, size it down.
- With enough viewing distance, you can keep a large piece’s impact — just confirm the main spot sees the whole picture.
- With a very short viewing distance, try a smaller size first, plus photography, line drawings, prints or detail-rich pieces that reward a close look.
- If you like a set of pieces, make a compact group; what you judge is the outer edge of the whole group, not the size of one frame.
- Low ceiling and want to stress height — try a tall piece or a top-to-bottom stack.
- For art above a sofa, start with a draft where the whole piece or group is about 2/3 to 3/4 of the furniture width, then fine-tune by the proportions of the work and how it looks in place. That ratio is a starting point, not a rule you have to follow.
The size and hanging-height math for any one wall is in the size-and-placement guide.
Before you buy frames and drill, run this checklist
| The problem you have | Check first | Adjust first |
|---|---|---|
| You’re close to the art | Whether you take in the whole picture at a glance from your real spot, and whether the content rewards a close look | Shrink the piece or the group’s span; swap in work with more detail |
| Low ceiling | Whether the overall composition is horizontal or vertical, and whether there’s wall left above the frames | Switch to a tall piece or a top-to-bottom stack; don’t just raise the art |
| One room, many uses | Which of the dining table, desk and sofa is the main viewing spot, and whether the others block or reflect it | Satisfy the main spot first; treat the other two as checks only |
Try it at real size in HangPlanner
Start with Add Wall to build a candidate wall at its real Width × Height; add a sofa, dining table or desk from Furniture as a size reference. When you want to match the actual room, drop in a photo with Background Image. Then place the art you like at the real size you plan to buy, and compare different sizes, a vertical stack, or other arrangements.
HangPlanner helps you check the proportions between wall, furniture and frames, but it doesn’t simulate how far you stand from the wall, and it won’t decide which spot feels best for you. So once it looks right on screen, go back into the room and look again from the real spots — the sofa, the dining table, the desk or the walkway.