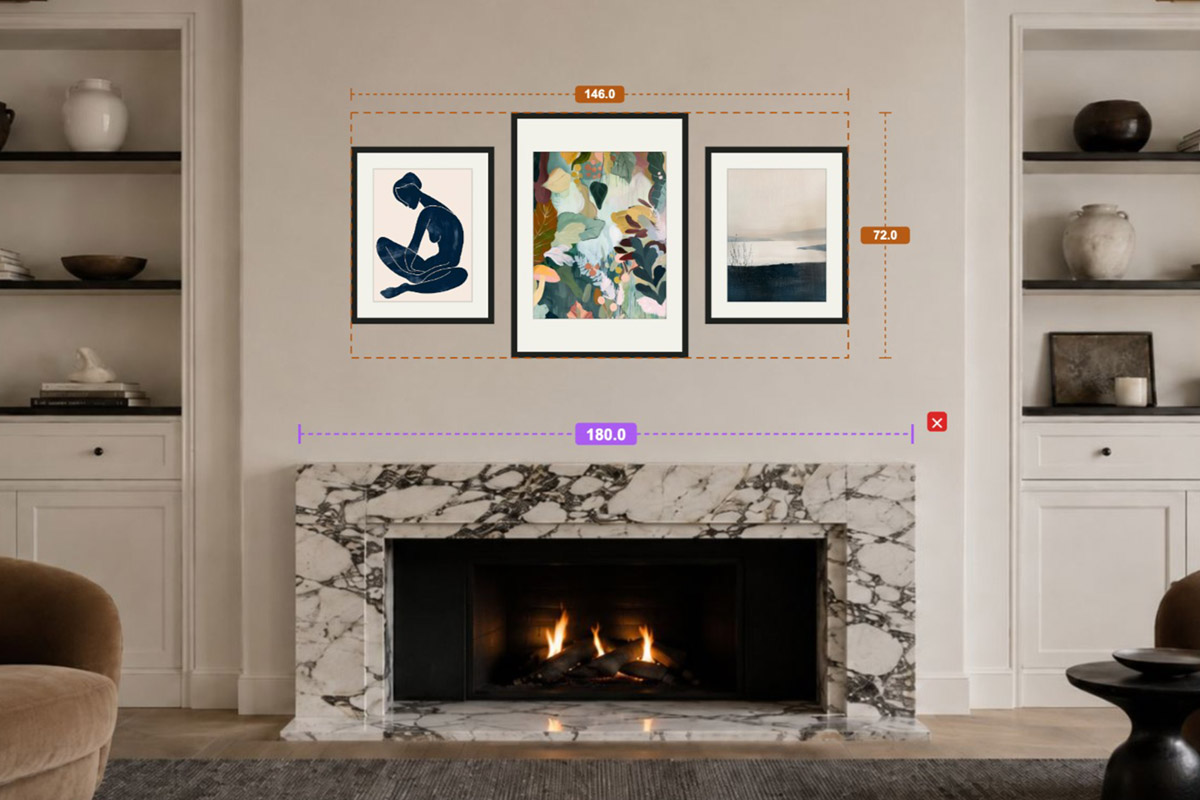
Art Above a Fireplace with IKEA Frames
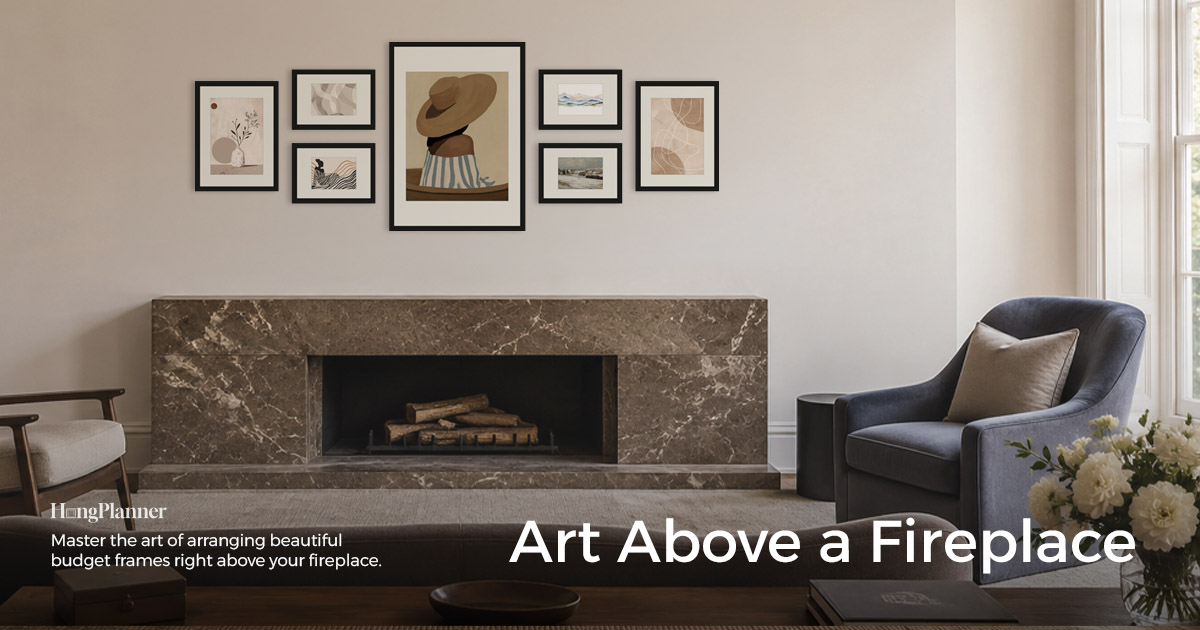
The fireplace is the natural centre of a living room — it’s the first thing your eye lands on when you walk in. That makes the wall above it the best stage for art, and also the easiest to get wrong: hang the art too small or too scattered and it can’t hold its own against the fireplace; hang it too high (to chase a tall, narrow chimney breast) and it disconnects from the fireplace and reads as two separate things. And there’s one trap no other wall has — if the fireplace actually burns, heat and soot can genuinely ruin your art.
The short answer: make the art span two-thirds to three-quarters of the mantel width, and keep the bottom edge of the lowest frame 6–12 inches (15–30 cm) above the mantel shelf. Before you hang anything, settle one thing — is this a working fireplace (wood or gas), or an electric / purely decorative one? The first needs heat and soot protection; the second, hang whatever you like. As for how many frames and which layout, that follows the arrangement you choose — we’ll help you pick at the end.
Here’s where a lot of guides go wrong: above a fireplace, don’t use the 57-inch (150 cm) centring rule, and don’t anchor to the middle of the chimney breast. That rule is anchored to the floor and average eye level, and it only suits a single piece on an empty wall. Once there’s a mantel below, the anchor should switch to the mantel itself — let the art “sit” above the mantel rather than float at some height unrelated to the fireplace. It’s the same logic as hanging above a sofa: when there’s furniture or an architectural feature below, anchor to it, not to the floor.
This article solves three things: how wide, how high (and what a working fireplace needs), and which layout to pick above a fireplace.
The lazy default
Width → make the art two-thirds to three-quarters of the mantel width (more flattering than “as wide as the mantel”), leave a margin of wall on each side, and centre it on the middle of the fireplace.
Height → skip the 57-inch centring rule; leave a gap between the bottom of the lowest frame and the mantel shelf. 6–12 inches (15–30 cm) is the starting range — use the lower end (6–8 in) for standard ceilings (about 2.4 m), the higher end (10–12 in) for tall rooms.
Fireplace type → working fireplace: don’t hang precious photos or fade-prone prints low and directly above; leave height, keep a front panel to block soot, and dust regularly. Electric / decorative: none of that applies — hang low and close.
Layout → above a fireplace, bottom-aligned is the top pick: the frame bottoms form one line that echoes the mantel shelf. Want something more formal, choose symmetrical; want the easiest option, a triptych; only want one piece, go one oversized frame. You don’t have to guess the frame count — use the ready preset for your chosen layout in HangPlanner.
Frames → same series, same colour is the safest. In IKEA, RÖDALM comes in the most sizes and colours; LOMVIKEN (aluminium) has the thinnest, sharpest edge. Above a working fireplace, play it safe with black-and-white or light-fast images rather than fade-prone colour posters.
Step 1: How wide and how high
Width first: the art should span two-thirds to three-quarters of the mantel width — that’s the most natural. Filling the whole mantel width looks cramped and leaves no breathing room; covering less than half looks unfinished. The two-thirds-to-three-quarters range holds its own against the fireplace while leaving air at both ends.
How to use it: measure the mantel (shelf, left end to right end) and multiply by 2/3 and 3/4 to get the width range the art should span. For a common 60-inch (about 150 cm) mantel, aim for roughly 40–48 inches (about 100–120 cm) wide, leaving about 6–8 in (15–20 cm) of wall on each side as margin. That “art width” runs from the left edge of the leftmost frame to the right edge of the rightmost one, gaps included.
Height is the thing people get wrong most above a fireplace. The fix is to change the anchor: keep the bottom edge of the lowest frame 6–12 inches (15–30 cm) above the mantel shelf. Use the lower end (6–8 in) in standard-ceiling rooms so the art and fireplace read as one; go higher (10–12 in) in tall rooms or above an unusually high mantel so the proportion looks right from across the room. Don’t push the art up just to align with the top of the chimney breast — once the art drifts too far above the mantel, it floats and disconnects from the fireplace.
One assumption to correct: don’t judge the height by “someone sitting and looking up.” The real audience for this wall is people standing, and people looking from across the room. The goal isn’t to flatter a seated sightline — it’s to make the whole arrangement “sit” firmly on the mantel and read as one with the fireplace.
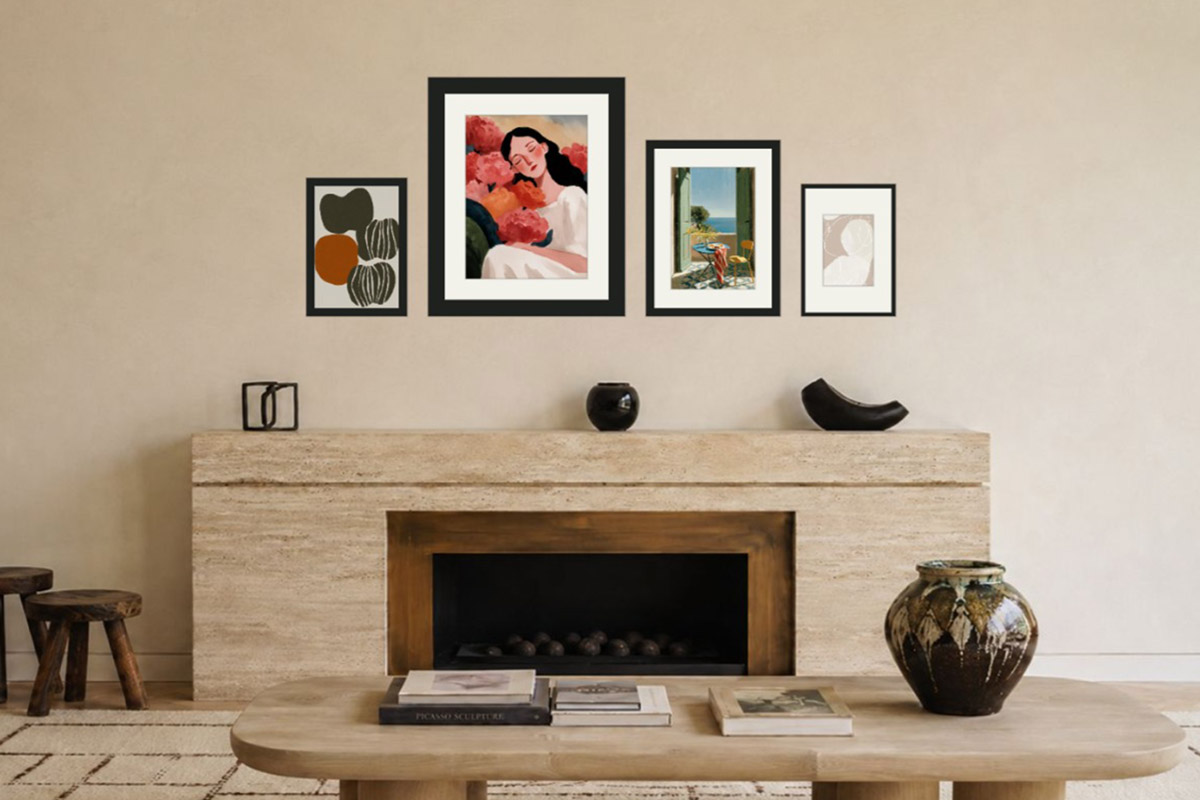
Step 2: If it’s a working fireplace, handle this first
This is the one problem no other wall has. If the fireplace is lit (wood or gas), the art above it faces two real threats: heat and soot.
- Heat: sustained or fluctuating high temperatures can crack, blister and flake the image, dry out and warp the canvas or wood frame, even trigger chemical reactions in the paint. That’s why valuable originals shouldn’t hang low and directly above a working fireplace.
- Soot and smoke: smoke and soot settle on the surface over time, yellowing and darkening it, dulling detail and colour — and they’re acidic, so they damage the frame too.
For a reader with ordinary IKEA frames and prints, the practical advice is:
1. Leave height, and don’t hang your most precious piece. Low and directly above a working fireplace is where heat and soot hit hardest; swap precious photos or fade-prone colour prints for black-and-white, light-fast, or easily reprintable images — much less to worry about.
2. Keep a front panel between the art and the soot. A front panel (glass or plastic) blocks soot from settling straight onto the image. One note: IKEA frames use a plastic front panel, not glass (lighter, won’t shatter, safer around kids — but scratches easily) — fine for blocking soot, just wipe it down regularly; for true glass you’d need specialty framing.
3. Block off a fireplace you don’t use. If the fireplace no longer burns, seal or block the firebox so the temperature stays steady, and the wall above behaves like any other.
An electric or purely decorative fireplace has none of these concerns — no real heat or soot, so hang low and close, straight by the proportions from Step 1.
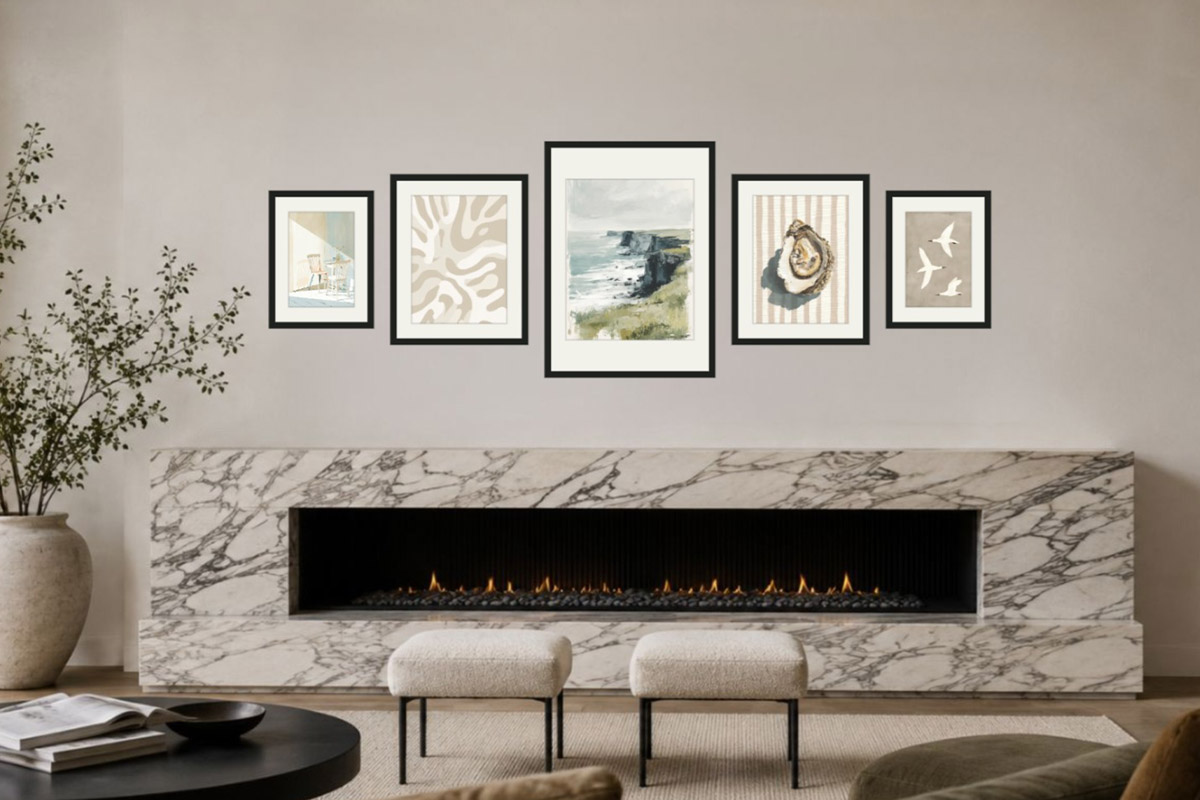
Step 3: Which layout to pick above a fireplace
Width and height set the frames; layout sets the look. A fireplace has two strong lines — the central, symmetrical axis, and the horizontal line of the mantel shelf — and a good layout always answers one of them. The options below are in recommended order for a fireplace, with bottom-aligned as the top pick; each links to its how-to guide, and the frame count and sizes come from the ready presets in HangPlanner, so you don’t have to guess.
Bottom-aligned: the top pick above a fireplace
All the frame bottoms line up on one horizontal line, with the tops free to vary. The mantel shelf is itself a strong horizontal line, so running every frame bottom along it makes the whole group “sit” squarely on the mantel — the most natural, hardest-to-get-wrong layout above a fireplace, which is why it’s first. See how in bottom-aligned gallery wall.
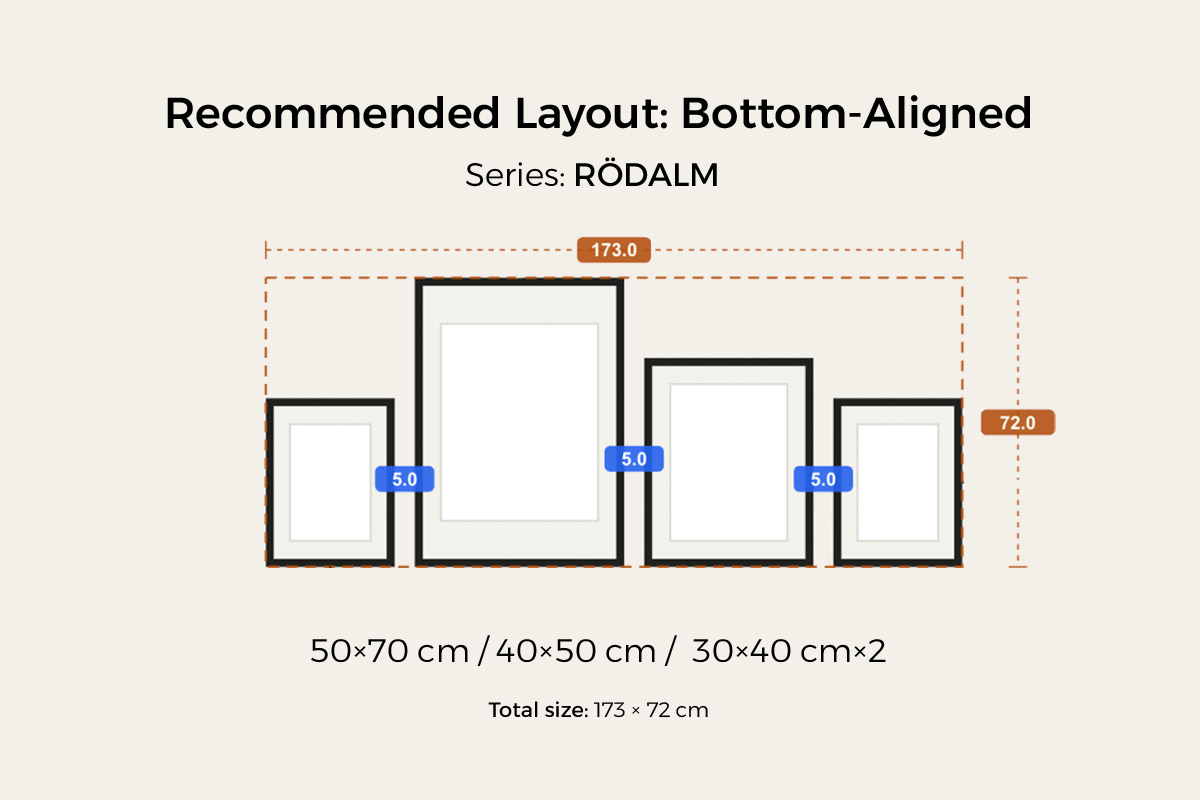
Symmetrical: the most formal and classic
One half mirrors the other, perfectly left-right symmetrical. The fireplace is already symmetrical and centred, so mirroring it with a symmetrical layout just looks “right” — formal and composed. Choose it for a classic, stately feel. See how in symmetrical gallery wall.
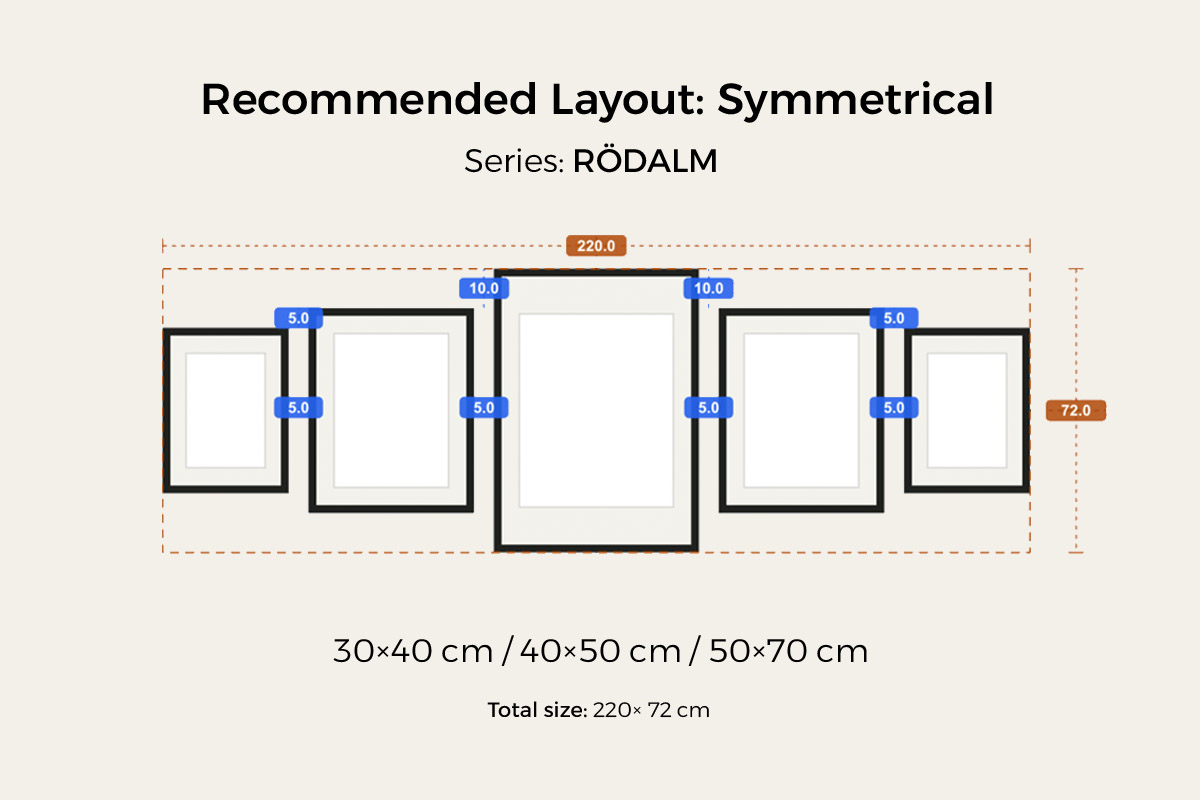
Triptych: the simplest, lowest-effort
Three equal frames in a row — the easiest option to pull off. Lowest decision cost, hard to get wrong, clean and generous above a fireplace. Choose it for a first attempt, or if you like things minimal. See how in triptych gallery wall.
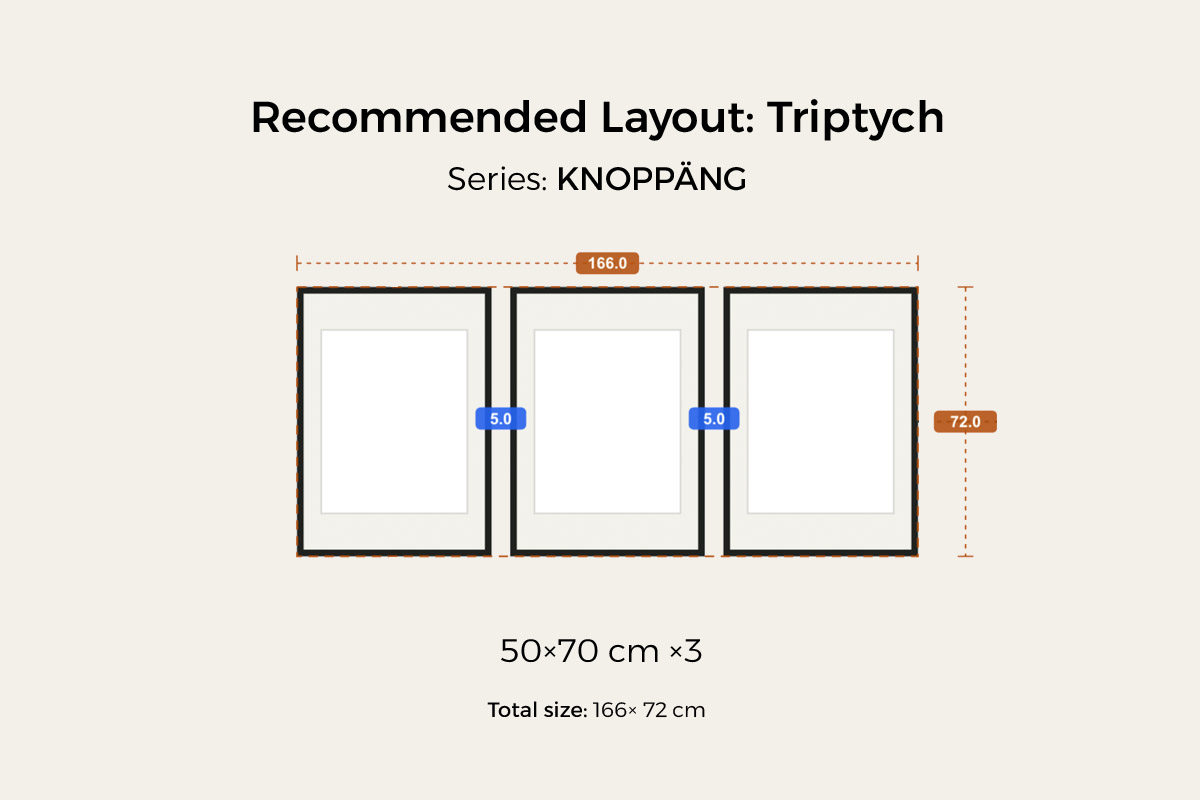
One oversized piece: if you only want to hang one thing
It doesn’t have to be a multi-frame gallery wall — one oversized piece above a fireplace is just as classic, and the easiest of all: hang a single large picture or photo, centred. The rules are the same — make it two-thirds to three-quarters of the mantel width, bottom a hand’s width above the shelf — you’re just swapping “a group of frames” for “one big one.” Great if you have one image you love, or want the minimal look with no arranging. For a large enough single frame, IKEA’s RÖDALM goes up to 50×70 cm; beyond that, specialty framing.
Cases to watch out for
- A working fireplace + a precious or fade-prone print hung low and directly above → see Step 2; heat and soot will ruin it.
- Pushing the art up to align with the top of the chimney breast → it drifts too far from the mantel and disconnects.
- Forcing the 57-inch centring rule, or anchoring to the chimney-breast midline → wrong anchor; above a fireplace, always anchor to the mantel.
- A grid filling the whole chimney breast → chimney breasts are often tall and narrow, and a multi-row grid looks cramped; unless the mantel is wide and the wall is square, leave the grid for a bigger, more regular wall.
What to buy: from your wall to a shopping list
The buying principle in one line: use “two-thirds to three-quarters of the mantel width” to set how wide the art should be, then pick a layout, and take the frame count and sizes from its ready preset in HangPlanner — rather than buying a pile of frames first and hoping they fit.
Each layout above links to its own how-to guide — the frame counts and sizes there map to ready layouts in HangPlanner, so you hit Insert and it’s on the wall, no counting frames yourself. The one thing left is which series to buy:
| You want | Pick this IKEA series | Note |
|---|---|---|
| Most versatile, most sizes and colours | RÖDALM | One series, several size steps, consistent colour — mixes sizes most naturally |
| Thin edge, clean and modern | LOMVIKEN (aluminium) | Slim metal edge, puts the image forward |
| A real-wood feel | HÄCKHAGTORN (pine) / EDSBRUK (stained wood) | In IKEA, only these two are real wood; RÖDALM, KNOPPÄNG, FISKBO and most others are fibreboard (engineered wood) |
One extra note for a working fireplace: favour black-and-white, light-fast, or reprintable images, and avoid precious originals and fade-prone, heavily coloured posters.
Two more things before you hang
Don’t space them too far apart. Leave 2–3 inches (5–7 cm) between frames, measured edge to edge. Too tight (under 1.5 in) reads dense; too loose (over 4 in) reads sparse and uncertain. (See gallery wall spacing.)
A brick, stone, or tile chimney breast hangs differently. Fireplace surrounds are often brick, stone, or tile — nothing like drywall. Light frames (IKEA fibreboard / aluminium, under 1 kg) on a flat painted wall can go up with adhesive strips (Command strips / IKEA ALFTA); brick, stone, tile, or heavier frames need the right bit and anchor (a masonry drill plus wall plugs). Don’t force a drywall nail into brick.
Try it in HangPlanner before you buy
The hard part above a fireplace isn’t “picturing something nice” — it’s landing those two numbers on your actual wall: how wide is two-thirds to three-quarters of your mantel? Where exactly does 6–12 inches above the mantel put the bottom? What changes if you swap the layout or the sizes? Taping paper to the wall usually takes three or four rounds of twenty minutes each, and still isn’t precise.
In HangPlanner, none of that is on you:
- Set your wall size, or upload a real photo of the fireplace wall and use the known mantel width to calibrate the scale
- Mark the mantel’s width and shelf height, and note the centre of the fireplace
- Drop in a ready layout preset — bottom-aligned, symmetrical, triptych, or just one oversized piece, or drag frames yourself
- Centre the group on the middle of the fireplace and set its width to two-thirds to three-quarters of the mantel
- Switch to Dimensions to see the group’s width and height, every gap, and the distance from the bottom to the mantel — check it straight against 6–12 inches
- Compare a few layouts and sizes to see which one holds the fireplace best
- Open Wall Budget to compare the cost of each option
On screen you can see which version “sits” on the mantel and which one floats — a lot cheaper than drilling the wrong hole in brick.